Every coffee we roast gets tested the same way before it goes on the shelf. Here's our setup, our process, and the thinking behind it.

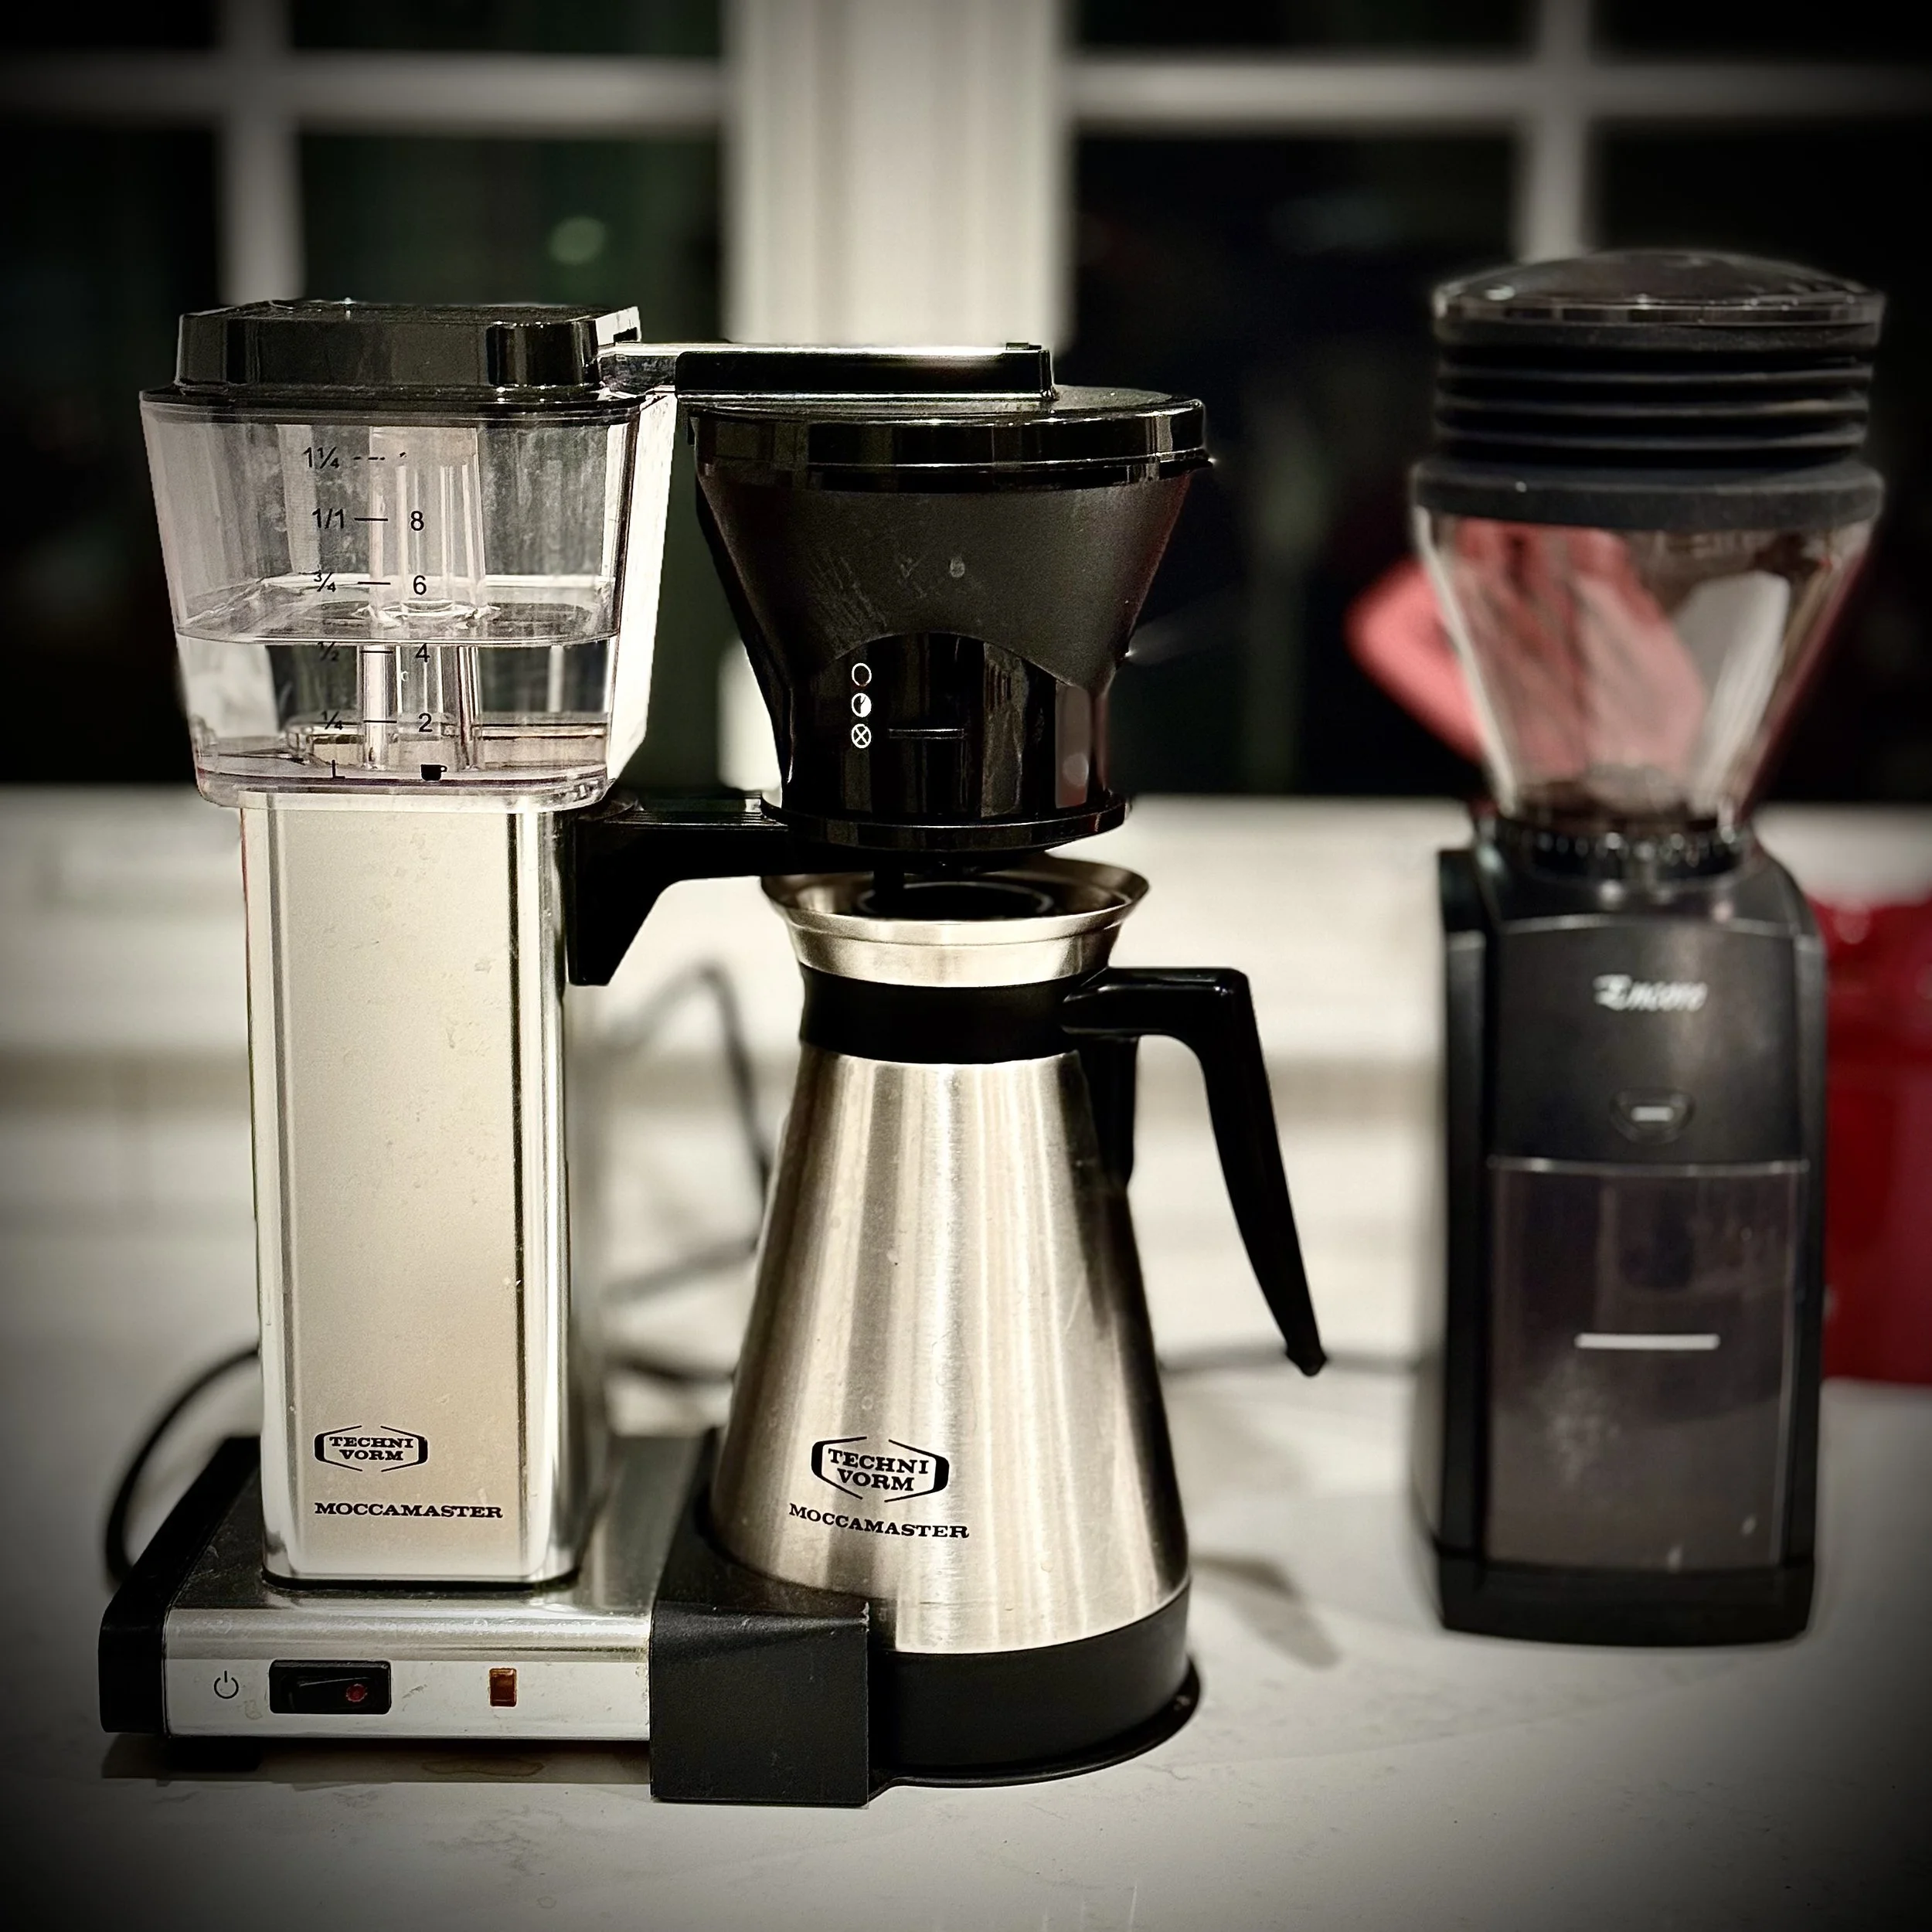
Joe's Daily Setup: The Moccamaster Method

This is how I brew every morning, and it's how I taste every coffee that comes through Dry Heat Coffee. It's reliable, it's repeatable, and the coffee it produces is clean and transparent enough that I can trust what I'm tasting. I don't often cup coffee at home. This is why this method works for me.

If you have a Moccamaster with the three-position valve on the brew basket, you have two brewers in one. I use both, depending on the day and the coffee. Fill the tank to the "4" mark (about 500ml) for either method.

Joe's Moccamaster KBT and Baratza Encore grinder setup

The Recipe

Brewer Technivorm Moccamaster (3-position valve, stainless carafe)
Grinder Baratza Encore, setting 30 (~963 microns)
Coffee 30g whole bean
Water 500ml (fill to the "4" on the tank)
Water Recipe 1 packet Third Wave Water Light Roast Profile per 2 gallons distilled
Filter Unbleached Melitta #4, not pre-wetted

For Both Methods

  1. Grind your coffee. I use the Baratza Encore at 30, which is approximately 963 microns for those keeping score at home.
  2. Place an unbleached Melitta #4 filter into the basket. I don't pre-wet. (If you're curious about whether that matters, James Hoffmann tested it and the answer is worth watching.)
  3. Fill the Moccamaster tank to the "4" mark. That's about 500ml.
  4. Close the valve all the way and turn the brewer on.
  5. Once the grounds are just fully covered, give it a few gentle swirls. No spoon, no stirring. You're not looking for agitation, just making sure all the grounds have had contact with water. Nothing dry hiding on top.

Method 1: The Daily Driver

This is my go-to most mornings. Quick, consistent, and the cup is light and bright.

  1. After your swirl, open the valve to the middle position. The remaining water continues dispensing from the tank while the brewed coffee drains through the filter below. Let it finish.
Download Daily Driver Recipe Card
iPhone-sized PNG. Save as your lock screen.

Method 2: Full Immersion

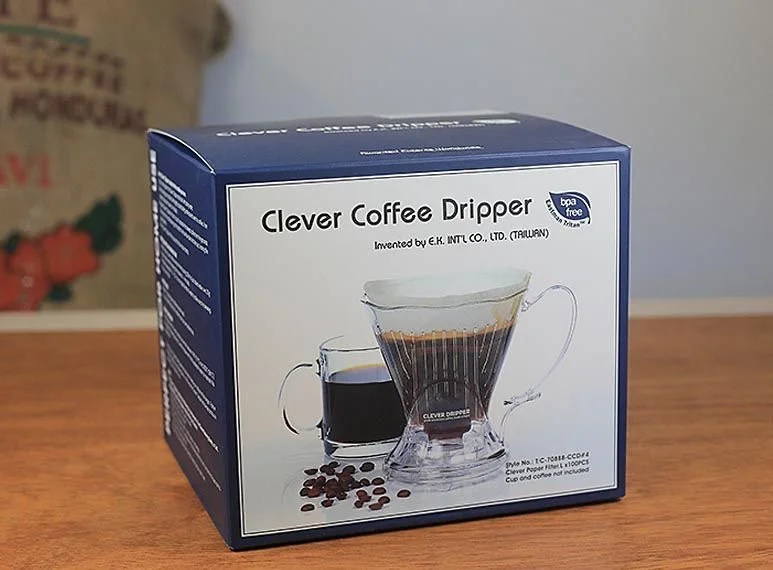
Same brewer, but now it's a Clever Dripper. I reach for this when I want a heavier body or I'm evaluating a new coffee more carefully.

  1. After your swirl, keep the valve closed. Let the full 500ml dispense into the basket. The grounds will be fully submerged.
  2. Wait 4 minutes.
  3. Open the valve fully and let it drain through the filter.
Download Full Immersion Recipe Card
iPhone-sized PNG. Save as your lock screen.
On water: I use Third Wave Water's Light Roast Profile because mineral content matters more than most people realize. If you're brewing specialty coffee with tap water or basic filtered water, you may not be getting the best out of the coffee. I use one packet for two gallons of distilled water, and it's an easy way to get consistent results. It's the cheapest upgrade you can make.

The Gear in This Brew

Everything I use for this recipe, a couple of clicks from purchase.

Technivorm Moccamaster (KBT) 9-cup thermal brewer with 3-position valve. SCA certified. The workhorse. Buy on Amazon
Baratza Encore Setting 30 is ~963 microns. A workhorse grinder at a reasonable price. Buy on Amazon
Third Wave Water, Light Roast One packet per 2 gallons of distilled. The cheapest upgrade you can make. Buy on Amazon
Melitta #4 Unbleached Filters Dry, no pre-wet. A box lasts forever. Buy on Amazon
Dual-Walled Borosilicate Glass Flavor-neutral. You get to see the color of your brew. Buy on Amazon

Some links on this page are affiliate links. We only recommend gear we actually use.


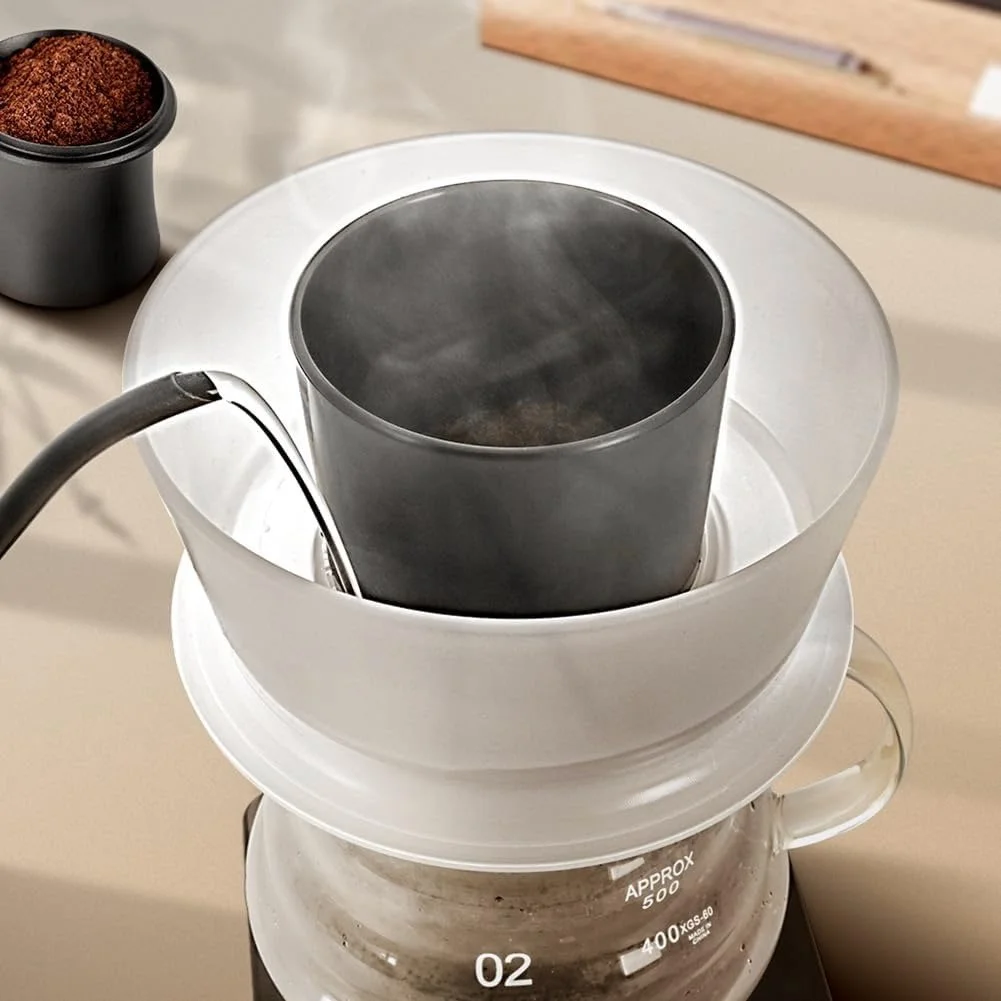
Joe's Travel Setup: The Clever Dripper Method

This is my go-to for travel at the moment. The Clever Dripper is a full immersion brewer that's forgiving in a way most devices aren't. 22g of coffee, 350ml of water, and a four-minute steep lands you a clean, transparent cup, even if you're being a little sloppy about it. I pair it with the 1Zpresso J-Ultra on the road and follow James Hoffmann's water-first approach to keep agitation almost nonexistent. I also walk through the whole method, plus a few notes on van security, in a short video on Shoestring Van Life.

Clever Coffee Dripper on a carafe with a 1Zpresso J-Ultra hand grinder

Watch: the Clever Dripper on the road, plus a few van security notes. From my Shoestring Van Life channel.

The Recipe

Brewer Clever Dripper
Grinder 1Zpresso J-Ultra, 3.4.5 on the dial (~849 microns)
Coffee 22g whole bean
Water 350ml Third Wave Water, Light Roast profile (roughly a 1:16 ratio)
Temperature 92°C at home (Fellow Stagg EKG), or just off boil for 3 to 4 minutes on the camp stove
Filter Unbleached Melitta #4, dry (no pre-wet)
Drinking Vessel Dual-walled borosilicate glass at home. On the road, a Yeti Rambler that refuses to break.
Landing Carafe 500ml Pyrex beaker or Hario V60 glass server (the Clever's base is finicky and won't sit on every carafe)

The Method

  1. Grind 22g of coffee. I use the 1Zpresso J-Ultra at 3.4.5 on the external dial, which is about 849 microns.
  2. Heat 350ml of water. At home, I set the Fellow Stagg EKG to 92°C. On the camp stove, I bring it to a boil and then let it sit off heat for 3 to 4 minutes before pouring.
  3. Drop an unbleached Melitta #4 filter into the Clever Dripper. I don't pre-wet.
  4. Pour the water in first, directly into the filter. Here's why.
  5. Add the 22g of coffee on top.
  6. Give the grounds a gentle stir, just enough to saturate everything. No spoon tricks, no aggressive mixing. You're not looking for agitation.
  7. Put the lid on. Set a timer for 4 minutes. Or mow the yard, take a walk, answer an email. It'll be fine.
  8. Place the Clever on your carafe. Heads up: the base is finicky and won't fit some glass servers. I use a 500ml Pyrex beaker or my Hario V60 carafe. Let it drain fully.
Download Clever Dripper Recipe Card
iPhone-sized PNG. Save as your lock screen.
On forgiveness: This is one of the brewers that lets me be pretty sloppy in my overall method and still pulls a beautiful cup. A few seconds off on the pour, a minute or two long on the steep, a stir that was a little too enthusiastic. None of it ruins the result. If you're new to brewing specialty coffee at home, or you want something you can throw in a bag and take anywhere, this is the device I'd point you to first.

The Gear in This Brew

Everything I use for this recipe, a couple of clicks from purchase.

Clever Dripper Full immersion brewer. Forgiving, affordable, a great first buy. Shop at Dry Heat Coffee
1Zpresso J-Ultra Hand grinder with a specialty-grade burr set. The one that travels with me. Buy on Amazon
Melitta #4 Unbleached Filters Dry, no pre-wet. A box lasts forever. Buy on Amazon
Third Wave Water, Light Roast One packet per 2 gallons of distilled. The cheapest upgrade you can make. Buy on Amazon
Fellow Stagg EKG Set it to 92°C and walk away. My home kettle. Buy on Amazon
Yeti Rambler Mug The road cup. Unbreakable, insulated, no hallucinated ceramic flavor. Buy on Amazon

Some links on this page are affiliate links. We only recommend gear we actually use.


The Ceado Hoop Method: A Slower, Bigger-Bodied Pour-Over

This one is easy. Coffee goes in the middle ring, all the water goes in the outer ring at once, and the Hoop self-regulates the flow into the bed. A long, even drawdown does the work for you, and the cup picks up real body without giving up clarity. I land in the 4 to 6 minute range. If yours runs longer, coarsen the grind a touch.

Ceado Hoop flat-bed pour-over brewer

The Recipe

Brewer Ceado Hoop
Grinder 1Zpresso J-Ultra, 3.9.5 on the dial (~975 microns)
Coffee 22g whole bean
Water 374g Third Wave Water, Light Roast profile (1:17 ratio)
Temperature 92°C (Fellow Stagg EKG, or just off boil for 3 to 4 minutes)
Filter Hoop stock paper filters
Drinking Vessel Borosilicate handled beaker
Drawdown Target ~6 minutes (4 to 6 is in the pocket)

The Method

  1. Grind 22g of coffee. 1Zpresso J-Ultra at 3.9.5 on the external dial, around 975 microns.
  2. Heat 374g of water. Fellow Stagg EKG at 92°C at home. Off the boil for 3 to 4 minutes works in a pinch.
  3. Drop a stock Hoop filter into place. Add the 22g of coffee to the inner well and level the bed.
  4. Pour all 374g into the outer ring at once. Don't pour on the coffee. The Hoop pulls water inward from the reservoir at its own pace.
  5. Give the slurry a swish. A WDT tool or a gentle spoon stir. Saturate evenly without churning up fines, those will choke the drawdown.
  6. Walk away. Target around 6 minutes for the full drawdown. Anywhere from 4 to 6 minutes is in the pocket.
  7. Too slow? Give the J-Ultra one big clockwise turn next brew to coarsen the grind.
  8. Decant into a borosilicate handled beaker. Flavor-neutral glass that lets you see what you actually made.
Download Ceado Hoop Recipe Card
iPhone-sized PNG. Save as your lock screen.
On the outer ring: Pouring directly on the bed defeats the device. The Hoop is engineered so water enters the slurry through channels at the bottom, not from the top. A single dump pour into the reservoir works better than multiple pulses on the bed.

The Gear in This Brew

Everything I use for this recipe, a couple of clicks from purchase.

Ceado Hoop A flat-bed pour-over that runs slow on purpose. Self-regulating water flow. Direct shop listing coming
1Zpresso J-Ultra Hand grinder with a specialty-grade burr set. The one that travels with me. Buy on Amazon
Third Wave Water, Light Roast One packet per 2 gallons of distilled. The cheapest upgrade you can make. Buy on Amazon
Fellow Stagg EKG Set it to 92°C and walk away. My home kettle. Buy on Amazon

Some links on this page are affiliate links. We only recommend gear we actually use.


More Methods

Three recipes live, more coming. We'll add each one as we dial it in and can stand behind it. Here's what's next:

OXO RapidBrewer

A quick, flat-bottom drip brewer we're testing now. Recipe and review coming soon.

Common questions

How long should I rest the coffee before brewing?
At least 14 days off the roast date, and many of our coffees keep getting better well past that. Fresh-off-the-roaster is not peak flavor. Right after roasting, beans hold up to 2% of their weight in trapped CO2, and the compounds formed during roasting are still reorganizing themselves. Acidity softens. Body builds. Aromatics stabilize. We pre-rest some coffees before they ship, so if you see multiple roast dates on a product page, the older ones are often the ones we'd reach for first.
Why does the water matter so much?
Coffee is 98% water. If your tap water tastes like chlorine or like nothing at all, that shows up in the cup. We brew with Third Wave Water's Light Roast Profile: one mineral packet added to two gallons of distilled water. About $1.42 per packet, two gallons of brew water out the other side. It's the cheapest upgrade most home brewers can make and it's the change that will make a really noticeable difference.
Should I shop by origin or by variety?
Variety, mostly. Where coffee is grown matters much less than what variety it is. When someone says they love coffee from Colombia, they probably mean they love Caturra or Castillo, which happen to be common there. Variety does about 60% of the work in what you taste. Processing does another 30%. Terroir is maybe 10%, and we're being generous. Hand someone a Gesha grown in Colombia and they have no idea where it came from, because they're tasting Gesha.
Why whole bean only?
Pre-ground coffee starts losing aromatics within minutes. If you're paying for specialty coffee, grind it right before you brew. The Baratza Encore has been our long-standing pick for anyone getting serious without going broke. (Note: the Encore is in transition right now; we're holding the recommendation until the refreshed version is out.) For ratios, weigh your coffee. Scoops are guesses. Most of our brews land between 1:15 and 1:17.
Why light roast?
Because that's where the most interesting flavors live for my tastes. Light roasts let the variety, processing, and producer come forward instead of getting buried under roastiness. These coffees reward attention from the grinder, the water, and the person making the cup. We roast light because it excites us. There's no wrong way to enjoy coffee, but if you want a coffee with the volume turned up on its varietal character and which highlights its processing, that's our focus.
How do you decide which coffees to put on the shelf?
We don't regularly cup our coffees. We trust our suppliers and their QC; they've already done that work. What we want to know is how a coffee will taste four weeks after it leaves us, brewed the way our customers actually brew. So we use a Moccamaster method end-to-end, with the same ratio, same grinder, same water, same filter, every time. The question we ask before a coffee goes on the shelf is simple: would we be excited to drink this on a random weekday morning? If yes, it stays.